It’s officially Friday and time for my very first Reader’s Choice blog post! Today’s topic was suggested by Christine from Elementary Etudes. She recently used my Leaves lesson, and her students were extremely successful with it. However, when I asked the followers of my Facebook page what topic I should write about, Christine’s exact words were, “Mallets! I struggle with these. My kids loved your leaves lesson and it was wonderful for introducing high/low. Now, where do I go from there??!!”
I know how she feels, and in a general sense, we all probably do too. I think one of the strengths of being a teacher is that we are always striving to improve our craft. And while I’m far from an Orff-Schulwerk expert, I’d like to share some tips and tricks that I’ve found useful when teaching mallet instruments.
Grip and Technique
“Hold on to the mallets like you hold on to your bicycle handlebars.”
“Create a triangle with the top of your mallets.”
“Keep your pointer finger in, not out.”
“Bounce, don’t thud.”
Have you ever used any one of these phrases while teaching about grip and technique? Me too. Repeatedly.
To keep myself from having to repeat these phrases ad nauseum, I gave my students a chance to become familiar with the grip and technique of the mallets before introducing the actual instruments. I repeated relatable phrases while they practiced bouncing their mallets softly on the ground or on their chairs. We would “walk” our mallets to get a feel for alternating hands. We “jumped” to become familiar with the technique for playing simple borduns. And if my students suggested a word that was more relatable, then that’s what I used. As one of my mentor teachers used to say, “Use what works.”
High and Low
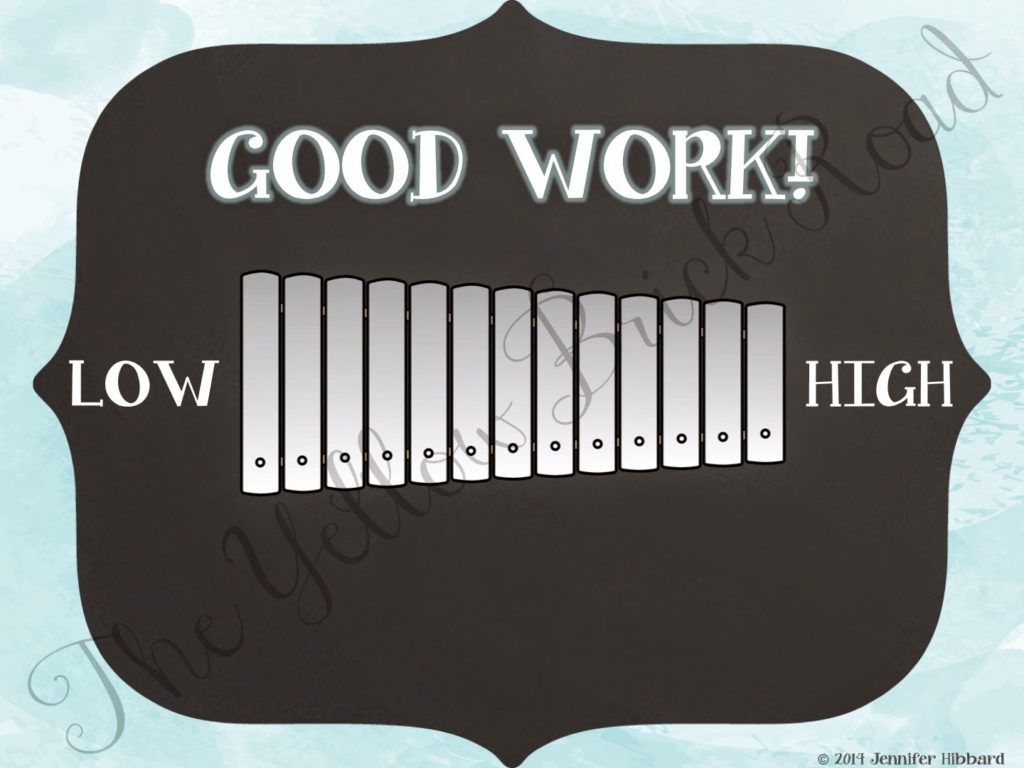
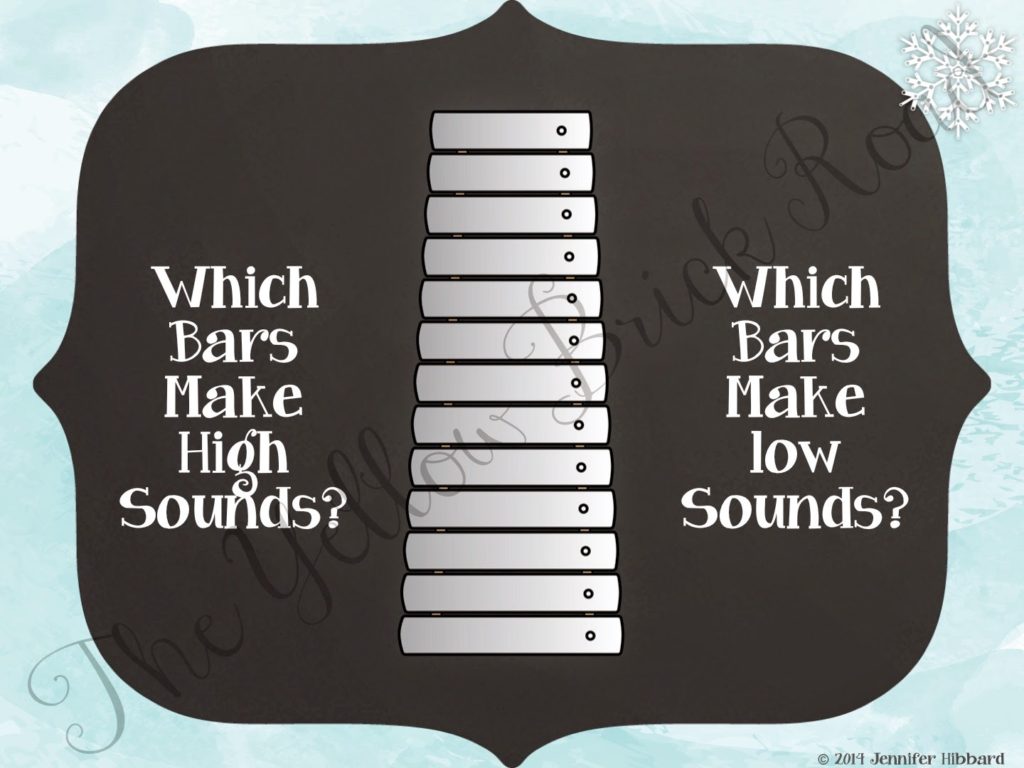
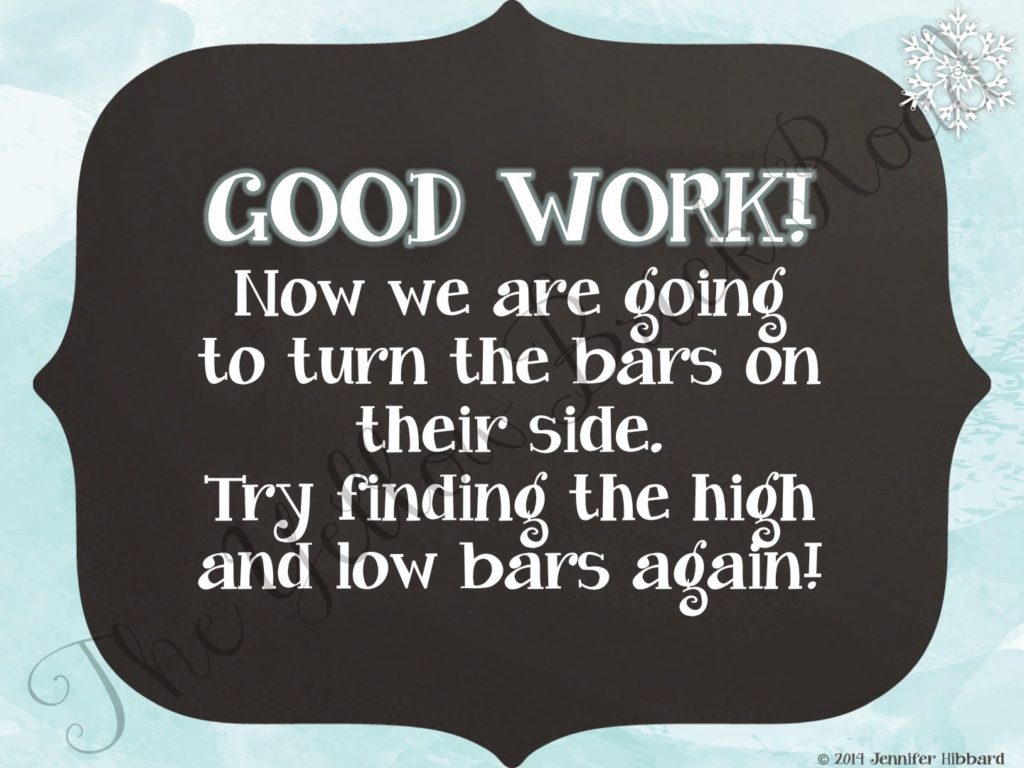
I usually introduced Orff instruments with my students in first grade. We started by identifying high and low bars. During these lessons, I didn’t worry as much about keeping a steady beat on the bars. Instead, I focused on grip, technique, and differentiating high and low. This meant that students got to play a lot of glissandos. Trust me when I say that kids live for glissandos. It’s as good as a caffeine high for them. Sometimes better.
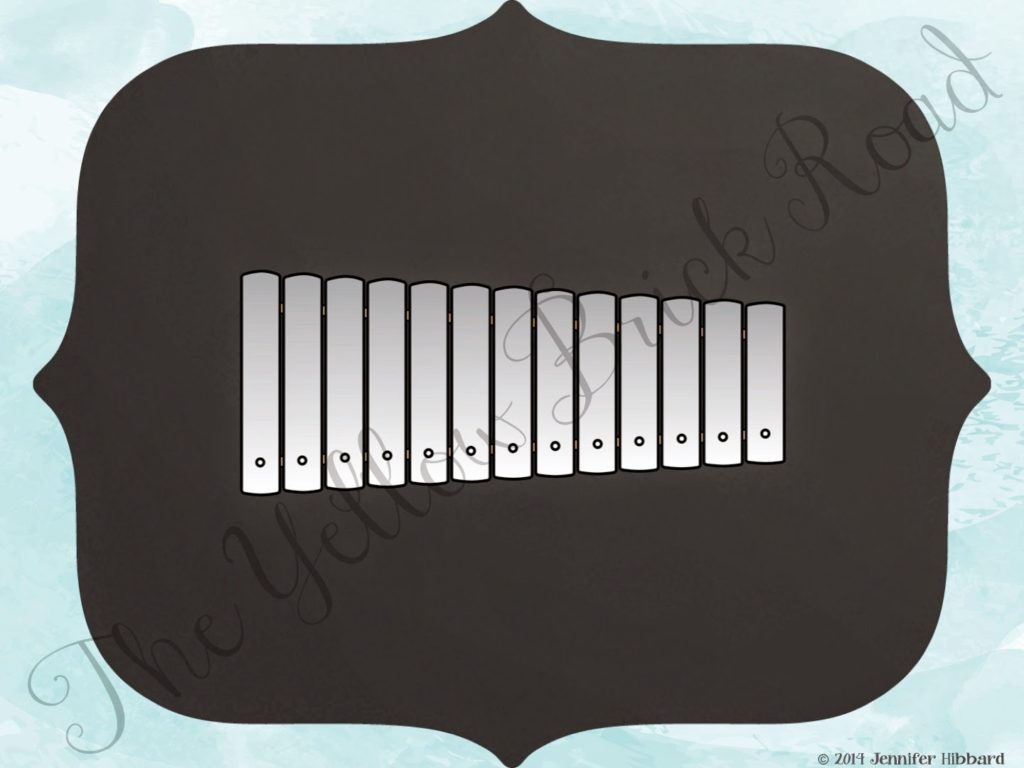
The pictures below give you an idea of how I taught high and low. These are from one of my recent projects that featured the folk song One Cold and Frosty Morning.
 |
| Graphics by Sonya Dehart Design, Dancing Crayon Designs, and KG Fonts. |
Borduns & Beyond
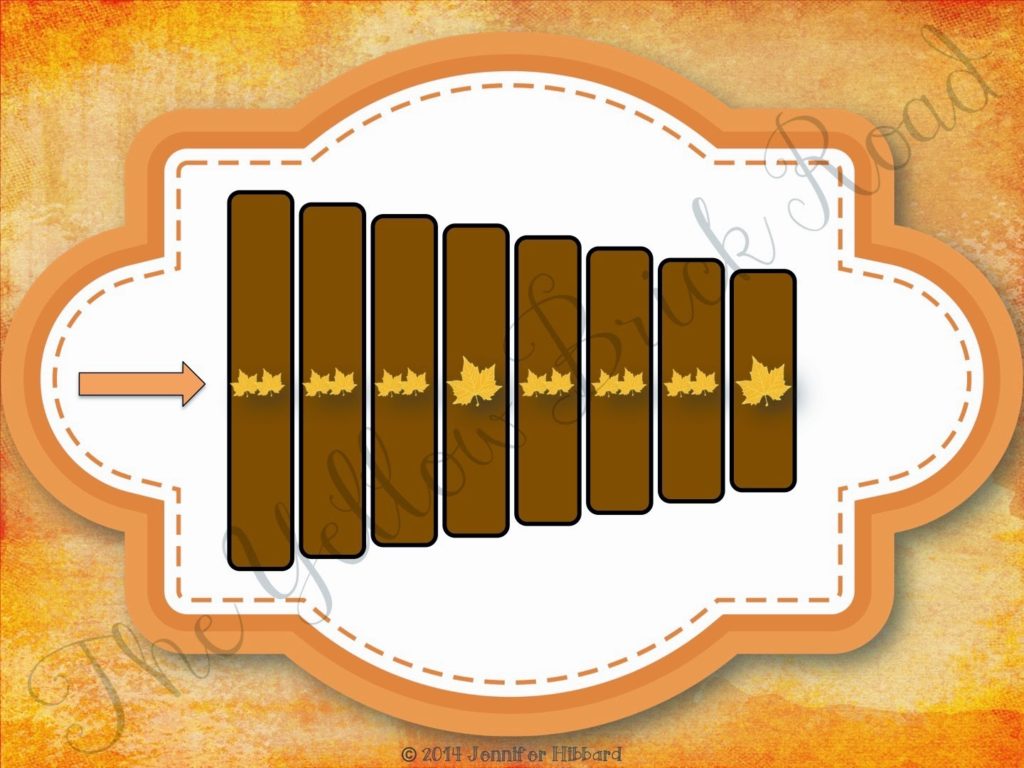
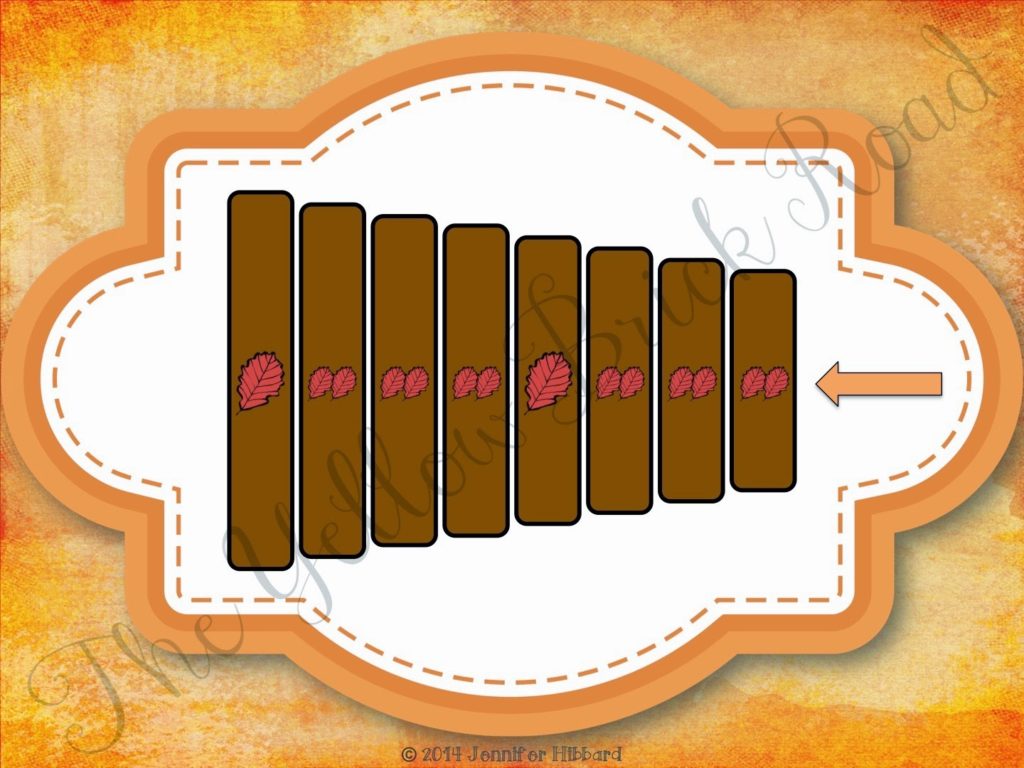
Once my students were comfortable with grip, technique, and identification of high and low bars, we began to focus on playing specific bars. I had students “walk” their mallets high and low along with a familiar song, using the floor or their chairs for practice. I kept an instrument visual on the board as reference, so they would begin to associate direction with pitch (right = moving higher and left = moving lower). In the example below, we were using the song Leaves by Arvida Steen. After practicing technique, I asked them to “figure out” how to play the melody on their own. Most students were able to do this successfully because they knew the song well, they knew the technique, and they knew the rhythms. The only thing left was to match what they already knew with the sound coming from the instrument. The screenshots below give you an example of what they saw once they’d experienced playing the piece on their own.
 |
| Graphics by Sonya Dehart Design, Zip-a-dee-doo-dah Designs, The 3am Teacher, and KG Fonts. |
Imagine their surprise when it was “super easy” to read and play the iconic notation. I followed a similar process each time we learned a new piece. I also integrated simple, broken, arpeggiated, and level borduns as the students became more advanced with the instruments.
For those of you who are not familiar with the different types of borduns, the following video is a great reference point.
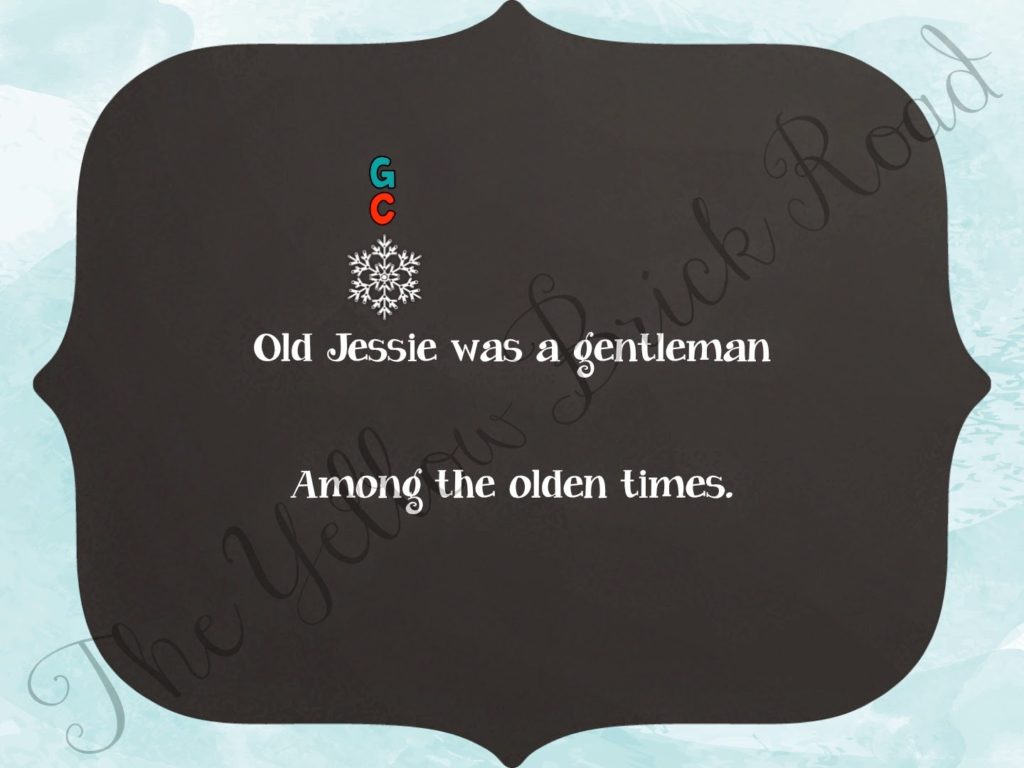
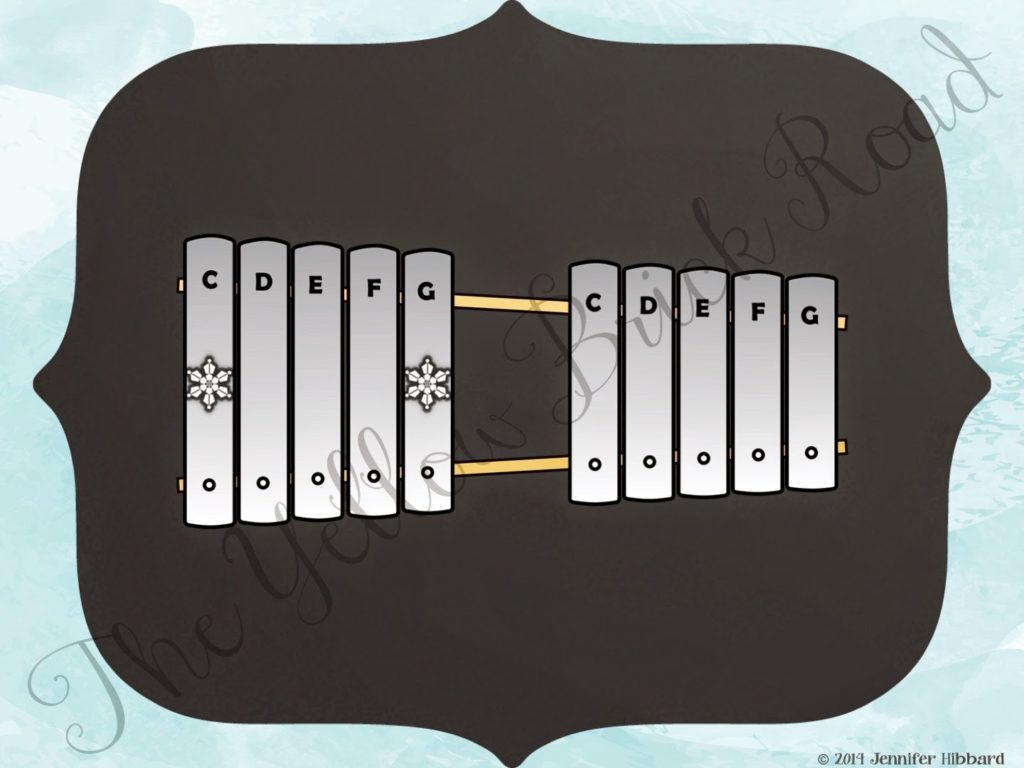
These screenshots are an example of what my students would see when playing a simple bordun. I tend to color-coordinate with Boomwhackers, hence the colored pitch names in the second picture.
 |
| Graphics by Sonya Dehart Design, Dancing Crayon Designs, and KG Fonts. |
If you’re new to the Orff-Schulwerk method or are eager to learn more (like me), the following links are great resources in which to get started:
Thanks for reading!
Jennifer
2 Responses
This is amazing! Your images are brilliant. Do you have all kids play together or do you play in groups?
Thank you! I really appreciate that! I'm no longer in the classroom, but when I was, I usually had everyone play together. We had enough instruments for half the class, so they always shared. If I had a larger class, or if I wanted to do rotations, I would have half the class sing, while the others played. Or I sometimes broke them into three groups to create an ensemble of rhythm instruments, mallets, and singers 🙂